Are you planning to perform the very first Android app development but have nothing in hand but an idea? Do you want to take a quick trip to get familiar with it?
If so, let’s go ahead and read our article about how to make an Android app. Here, we will also provide you with an Android app development guide to make this process happen easier!
What Techniques Are Involved in Android App Development Guide?
Android still remained its leading position of mobile operating systems in the first quarter 2024 (70.7%). This underscores a vast number of Android users, leading to a higher demand for Android app development yet increasing competition in this market. To craft an effective Android app, you need to understand the following techniques:
1. Wireframing
This is the very first step of any Android app development process, not only first but also important. Wireframes will outline the sizes and placement of page elements, site features, etc. And most of the time, the wireframe is made of lines, boxes, and grayscale colors.

People don’t just call it the blueprint or the skeleton of software, a website, an app, etc. for no reason. The wireframing stage is when you structure your app. Thanks to it, your design will be consistent from screen to screen. At the same time, it will make sure that your original ideas always go with the business strategy.
Here are some tips you should consider using to make the wireframing phase happen easier and more effectively:
- It’s important to sketch the flow first.
- You must create a screen list (it might include the home page, product page, and review page, for example) beforehand.
- Ensure your content scale well.
- Ask for feedback from your colleagues frequently (to get rid of redundant elements, notice the missing important features, or come up with better ideas).
2. UI/UX Design
Many outsiders or beginners will feel unfamiliar or confused with these two terms.
In short, UI design is a set of tasks related to the interfaces of a product, or what users see on your web/app. The goals here are first, to produce effective control and operation of the product, and second, to create an easy, effective, and aesthetic web or app. All of these activities are performed to grab users’ attention.
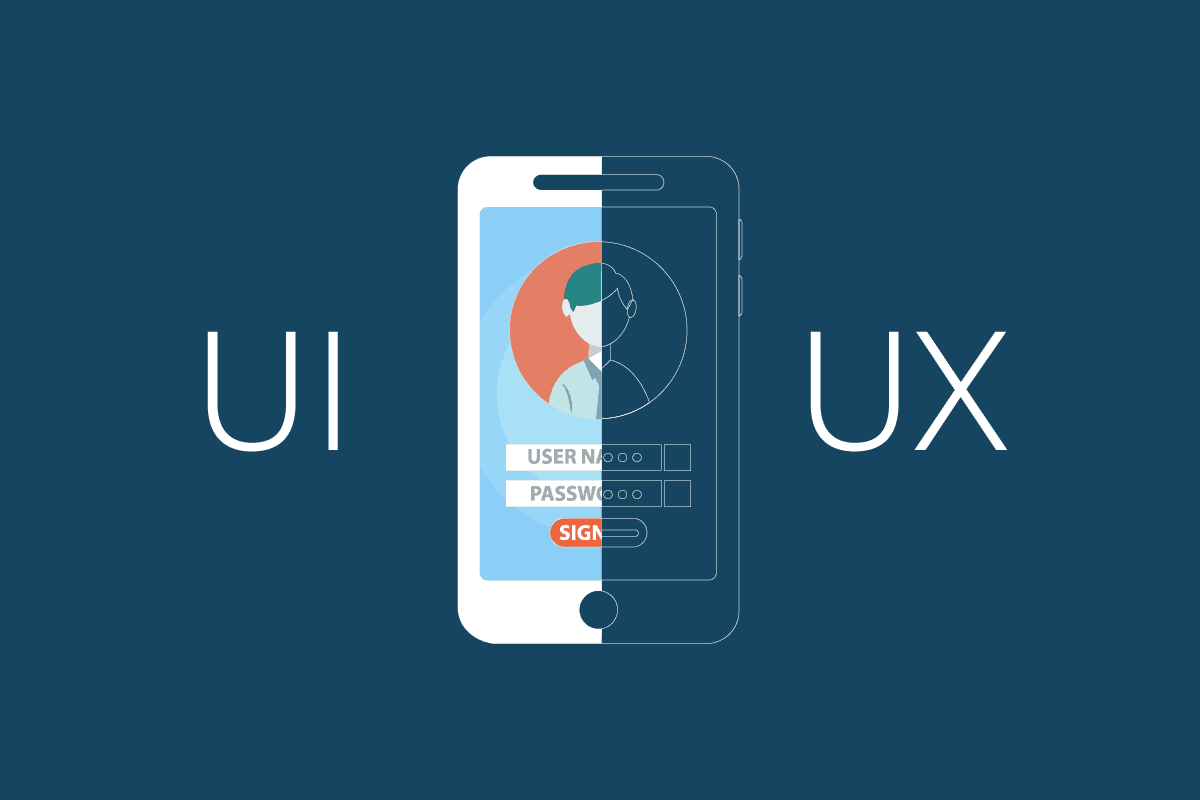
As for UX design, designers must work their best to create a seamless experience for users. A good UX design should meet users’ needs when they are using your product. Thus, users might find pleasure to interact with your product. As a result, it will probably help you improve customer satisfaction and loyalty.
Some tips you might want to use are:
- Follow the Design for Android and Material Design Guideline by Google.
- Add effect to let users know when a button is actionable. With Android, the trendy one at the moment is the Ripple effect.
- You should also know a general principle: if it looks the same, it should act the same.
- Keep in mind that there are thousands of Android devices out there, and you must help your product adapt to each of them.
3. Coding
The coding or development stage is divided into 2 layers which are the front-end and back-end.
The prior one concerns the client-side. Front-end developers or full-stack developers (who are responsible for both front and back-end development) will have to make the interfaces of your Android app as similar to the UI design as possible. As a result, users can see and interact with your app directly.

The most priority tasks of these developers are producing HTML, CSS, and JavaScript code as well as ensuring that the app is easy to use.
In the meantime, back-end development is all the things that cannot be seen by users. In other words, it helps the browser communicate with the database and vice versa. So, back-end developers are required to handle ‘behind-the-scenes’ functionalities of websites or apps.
They have to care for connecting websites or apps to a database, managing user connections, and powering the web or the app.
4. Testing
Not only developers but almost all people on this planet will likely miss their mistakes or errors in a process. That’s why we need testers (aka QCs) here to make sure your app has all the functionalities intended before as well as a seamless experience. So, basically, discovering glitches or errors is what these players do.
After catching those nasty bugs, testers will submit them to developers to fix them. As a result, your app will go as you have planned before or even better.
So, what tips testers could use to improve/enhance their testing process? People at Designveloper recommended you should:
- Test the app in various conditions: different screen sizes (you could use cloud service to test on more devices), different internet speeds (or even when the internet connection is gone), etc.
- Make sure the app follows platform guidelines.
- Understand and test your app in unhappy scenarios.
- Check functionalities first then move on to the user experience.
Further, Designveloper’s testers leverage different testing techniques during Android app development. Below are some of our popular methods:
Unit Testing
This ensures that small parts of the source code (i.e., functions or classes) work correctly when running independently. It also helps detect issues early and foster the source code’s stability when any changes are made (like adding new features).
For Android app development, we’ll use JUnit to test the smallest source code units like functions or methods. We also combine with Mockito to create ‘mock’ objects to test independent components without relying on real objects.
Integration Testing
This tests how different modules or components of an Android app interact. This ensures they work as expected when combined.
For Android app development, we’ll use Robolectric to test Android components on a computer instead of real devices. This speeds up the testing process and makes it easier to diagnose errors at the integration level. Further, we use Appium – an open-source automation testing tool – to test complex UI interactions between the app’s components.
Manual Testing
This helps identify errors that automation testing might miss, especially in terms of user experience and interface.
User Acceptance Testing (UAT)
This is the last step of the testing process. Here, end-users will get involved in the process to ensure the app meets requirements and gets ready for launch.
We use Firebase App Distribution to distribute the Android app to testers for verifying its performance on real devices. Also, we use JIRA/Trello to manage the tasks and issues arisen during UAT, while using Google Forms/Sheet to collect feedback from end-users.
5. Deployment and Market Submission
So, we are almost finished with this round, the only thing left is to deploy your Android app on Google Play. This process is kind of easy, however, if you don’t pay close attention to it, this deployment stage will be a mess, especially when it comes to code signing. For more detail about this step, let’s read our article “iOS + Android Code Signing: What You Need To Know”.

And here are some things you should consider before/when deploying your Android app:
- If your app size is too heavy, let’s break it into several parts. According to Clear Bridge, Android Expansion files allow the APK to add two more files, each of them up to 2GB in size. Google Play store will host and distribute these files at zero cost.
- Think of some monetizing method beforehand, it will make your process happen faster when there is a price in your mind.
- It’s important to remember that Google won’t allow you to change the price of your app if you set it a free one at the beginning.
6. Maintain and Update
On the one hand, your testers, in most cases, will miss some bugs and errors on the app, and you have to maintain it frequently to avoid any uncomfortable experience.
On the other hand, just like any other industry, there are a whole lot of trends to follow from time to time. And trends are what could increase your users’ interest in your product. As a result, updating an app is also a critical activity to perform.
There are not many tips related to this stage, but we at Designveloper recommend you choose a good project management method to make the maintenance does not cost you much time and effort.
All in all, Agile is a good one to pick up and try. With this approach, you can also improve the quality of every stage of your Android app development process.
Get inspired with unique, money-making mobile app ideas you haven’t seen before.
What is The Best Language to Use For Android App Development?
If you’re ready for Android app development, consider the following programming languages:
1. Java
Java is a programming language that is based on the concept of Objects.
It is said that this language is the first and most preferred one for Android app development. As a result, you can find it anywhere: Airbnb, Uber (based on Java), LinkedIn, etc. This happens since its code can be secured on a bunch of platforms, OSs, or architectures of devices.
Furthermore, since it’s widely used by developers all over the world, you can easily find support or solutions to your issues in various communities. Your development team is also able to work together remotely thanks to this distributed language.
2. Kotlin
Java is good, it, however, is kind of old and complex when compared to Kotlin.
According to Danlew, this 8-year-old language helps developers write more concise and effective code. Kotlin can present the errors in compile time. In addition, you can easily integrate it with Android Studio. It is also more streamlined and easier to read. The pros of Kotlin are various and we’ll introduce it to you in a future post.
Well, no wonder why people compare this one to Apple’s Swift.
3. C++
C++ is another popular language used to build Android apps. Yet according to our experience, C++ proves especially helpful in apps requiring highly optimal performance (like games or heavy graphics apps).

So why can C++ have that ability? First, it allows you to write low-level code that is closer to the hardware. This may greatly enhance performance for resource-intensive tasks.
Second, C++ enables you to directly control memory management. This allows for efficient and optimized use of system resources, which proves essential for high-performance apps.
Third, Android offers the NDK (Native Development Kit). The NDK lets you use C++ and other native languages to write parts of your apps, which is very useful for gaming engines.
4. JavaScript
Another popular language for Android app development is JavaScript.
It offers frameworks like React Native or Ionic to help you build cross-platform apps with a single codebase. These frameworks also give you the power to write JavaScript code that offers native-like components. Additionally, you can write reusable JavaScript code to allow for the easier maintenance and updates of Android apps.
JavaScript, combined with HTML and CSS, enables you to create responsive user interfaces (UIs) and smooth animations.
5. Dart
Dart is a popular language that Flutter – Google’s open-source framework – uses to craft cross-platform apps with a single codebase. It uses Ahead-of-Time (AOT) compilation – native machine code – to enable high-performance user interfaces.
Further, when used with Flutter, Dart supports hot reload that allows you to promptly see changes in your code reflected in the app without the need for restarting or recompiling. It also supports a widget-based architecture, where everything in the UI functions as a widget. This lets you combine smaller, reusable components to easily craft complex UIs.
Android App Development Guide: Resources and Courses
And now, after digging into some basic information about Android app development, if you are ready to kick-start this new path of career, here are some Android app development tutorials we’ve collected just for you!
1. Developers
It consists of various online courses to help you be more familiar with Kotlin, Java, etc. from basic to advanced levels as well as the overall knowledge of Android app development.
2. Codelabs
This course has 10 lessons to leverage your knowledge of Android development in no time.
3. Android App Development Specialization
This 5-course program will help you master Java programming, Android app components, and the way to maintain your app well afterward.
4. The Complete Android N Developer Course
The course from Ucademi is rated at 4.2/5 from 26,465 students and it will surely help you launch a successful Android app developer thanks to all the concise yet detailed lessons and it costs us only $9.99.
We hope that the article could help you whenever you come up with a brilliant idea. However, you can just shake any worry off since Designveloper offers you a wide range of software development services including Android app development.
Tell us your ideas and we will realize them for you.
And don’t forget to follow our Facebook, Twitter, and LinkedIn for more blog posts like this!


Read more topics


